When my daughter Ellen was four I started teasing her that I was saving all of my boogers in a big booger ball. I don’t know why I told her that except that it was fun to watch her make that “grossed-out” face that kids make when they smell something bad or see a squished cat on the road. She always begged to see it so finally I told her that she couldn’t see it now but I would give it to her for her eighteenth birthday. Well, guess what – she’s turning eighteen and I’ve got to come through with a booger ball!
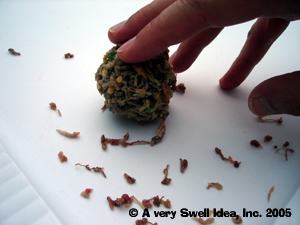
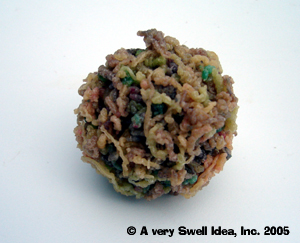
Here’s the basic steps to successful Booger Ball manufacturing:
2. Colored markers are used to add color to the boogers. Rubber cement dries in a nice neutral mucus color which is great. Boogers, however, are not all the same color. If you’re sick, they might be bright green or if you’re working hard in a dirty building they might be nearly black – remember that your nose is your body’s air filter protecting your lungs from the junk in the air.
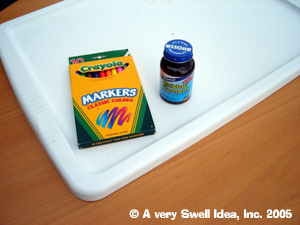
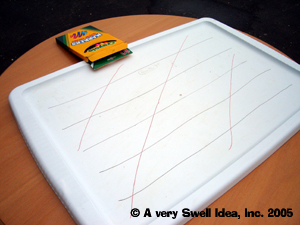
3. A plastic tray, a plastic counter-top or a lid to a plastic tub to spread the cement on is needed also. I used two plastic lids from some storage tubs I had LEGO in. The cement comes off fairly easily but you might want to use something you are not especially attached to just in case there are some unforeseen problems in the project.
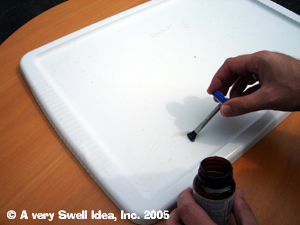
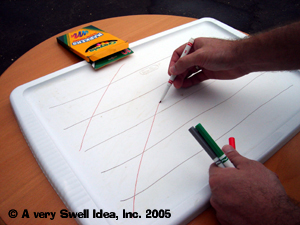
5. Spread the cement on the plastic surface in a uniform layer that’s not too thick. I was tempted to goop it on but when I did the boogers did not turn out as well as they took much longer to dry.

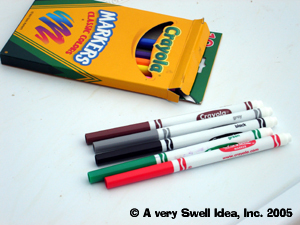
7. Choose your color palate from the colored markers. Think of all the boogers that you have picked over the years and remember the colors. Purple and pink may not be useful (unless you’ve snorted dry Kool-Aid – ouch!) but the shades of green and brown with the addition of red and black or gray will work great.

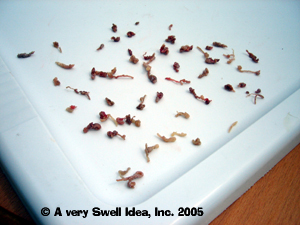

16. Be careful – this booger ball is NOT edible!
• Why in the world would anyone want to make a booger ball?
• You may not score points with your significant other for taking on this craft project – no matter how creative your final creation ends up.
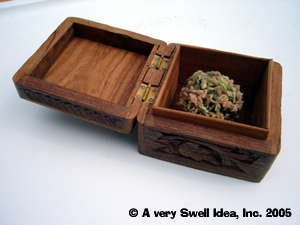
• Kids LOVE boogers and the idea of anyone really having a booger ball fascinates them. Keep your ball a secret, saving it only for special occasions. Your grandkids/nieces/nephews will think you’re the coolest grandpa/grandma/aunt/uncle ever.
• Life is too short not to make our own booger ball!
• This is a messy project using harmful chemical glue products – don’t let kids get hurt. The markers will stain your fingers for a time (even though they claim to be washable).
• Your fingers may become sore and a bit raw after a few hours of booger manufacturing.
• Please don’t eat your boogers.
So there it is; how to make a booger ball. If you enjoy this tutorial you might consider hiring me to develop one of your wacky ideas. Check out our site to see what else we do and how we can help you in the future. God gave us way too much creativity, but we’re willing to share! Send us a photo of your booger ball creation and we might add it to the Booger Ball Hall of Phlegm.
Update: Ellen loved her booger ball. Here's the note she sent me.

If you like this silly story, you might enjoy some of the other stuff I'm working on at averyswellidea.com or printncut.com. Thanks for stopping by! -Amos